I was halfway through a chaotic Sunday brunch when my kitchen exploded with the scent of ginger, and I realized I had no idea how to turn that aroma into a crowd‑pleasing treat. The moment the first scone popped out of the oven, a wave of warm, spiced sweetness hit me like a hug from an old friend—only this hug was edible, and it had a subtle kick that made my taste buds dance. I was so dazzled that I almost forgot the tiny mishap that had nearly ruined the whole batch: a rogue egg had rolled off the counter, splattering across the floor like a miniature art project. That little disaster sparked a revelation—I needed a recipe that could survive a kitchen mishap, still taste amazing, and be gluten‑free and paleo‑friendly. The result? A ginger scone that’s as forgiving as it is flavorful, and it’s about to change how you think about quick, healthy baking.
Imagine walking into a room where the air is thick with the aroma of fresh ginger, toasted nuts, and a hint of honey. You hear the gentle crackle of the oven, feel the comforting weight of a freshly baked scone in your hand, and taste the subtle heat that lingers on your palate long after the last bite. That’s the kind of multisensory experience I’ve crafted for you, and it’s not just a recipe—it’s a ritual that turns ordinary mornings into something worth celebrating. The secret sauce is a blend of almond and coconut flours that give the scone a tender crumb, while a generous pinch of ground ginger adds depth and a gentle warmth that feels like a hug from the inside. And the best part? You can whip this up in less than 45 minutes, even if you’re juggling a toddler’s snack schedule and a work call.
Most gluten‑free and paleo scone recipes fall into the same predictable pattern: dense, dry, and flavorless. I’ve spent years hunting for a version that actually delivers on texture and taste, and I finally found the missing piece in this recipe. The trick isn’t just in the ingredients—though we’re using the finest almond flour, coconut flour, and a touch of honey—but in the way we combine them, the temperature we bake at, and the timing of every step. By treating each component with the respect it deserves, this recipe turns an ordinary morning into a culinary showcase that will have your guests asking for the recipe. I dare you to taste this and not go back for seconds; it’s that good.
Picture yourself pulling this batch out of the oven, the kitchen smelling incredible, the scones golden and crisp on the outside, and soft as a cloud on the inside. Imagine the look on your friends’ faces when you serve them the first bite—eyes widening, mouths opening, and a chorus of “wow” echoing through the room. That moment is what I’ve engineered into every step of this recipe, and I can’t wait to walk you through it. Let me walk you through every single step—by the end, you’ll wonder how you ever made it any other way.
What Makes This Version Stand Out
Taste: The balanced heat from fresh ginger pairs beautifully with the subtle sweetness of honey, creating a flavor profile that’s both comforting and invigorating. The combination feels like a warm blanket on a crisp morning, but with a zesty twist that keeps you coming back for more.
Texture: Using a blend of almond and coconut flours gives the scones a tender crumb that melts in your mouth, while a small amount of coconut oil keeps them moist without becoming greasy. The result is a scone that feels airy on the inside and has a satisfying, slightly crisp edge.
Simplicity: The recipe requires just ten ingredients—no exotic spices or obscure pantry staples. It’s a quick, no‑fuss solution for anyone who wants a gluten‑free, paleo treat without the extra effort.
Uniqueness: The inclusion of dried cranberries or raisins adds a pop of color and a burst of natural sweetness that sets this recipe apart from the usual vanilla or chocolate scones. It’s a subtle but game‑changing twist.
Crowd Reaction: Friends and family who are used to traditional bakery scones rave about how this version is lighter, healthier, and just as delicious. The scones hold up well for a small gathering, making them perfect for brunches, potlucks, or a quick snack.
Ingredient Quality: Every component is chosen for its health benefits—almond flour is rich in protein and healthy fats, coconut flour adds fiber, and fresh ginger offers anti‑inflammatory properties. The result is a treat that feels indulgent yet aligns with a clean eating lifestyle.
Cooking Method: Baking at a slightly lower temperature with a short rise time preserves moisture and ensures a golden crust without over‑drying the interior. This method is simple yet effective, making the recipe foolproof.
Make‑Ahead Potential: The dough can be prepared up to 24 hours ahead and refrigerated, allowing you to bake fresh scones at a moment’s notice. This is a major win for busy mornings or last‑minute gatherings.
Alright, let's break down exactly what goes into this masterpiece…
Inside the Ingredient List
The Flavor Base
Almond flour is the star of the show—its nutty flavor and high protein content give the scones a robust foundation. Coconut flour, while absorbent, brings a subtle sweetness and a light, airy texture when used in moderation. Together, they create a gluten‑free base that mimics the mouthfeel of traditional wheat flour without the heaviness. If you’re allergic to nuts, you can swap almond flour for sunflower seed flour, which offers a mild flavor and similar nutritional profile. Remember to sift both flours before mixing; this ensures a smooth batter and prevents clumps.
The Texture Crew
Coconut oil, melted, adds richness and keeps the scones moist without the greasy aftertaste that butter sometimes leaves behind. The oil’s high smoke point also allows for a crispier crust, which is the hallmark of a well‑baked scone. Eggs act as the binder, giving the dough structure and a slight lift. If you’re vegan, a flaxseed‑egg substitute (1 tablespoon ground flaxseed + 3 tablespoons water) works wonderfully, though the texture will be slightly denser. The honey or maple syrup not only sweetens but also contributes to browning, creating a golden, caramelized exterior.
The Unexpected Star
Fresh ginger, ground into a fine powder, is the secret weapon that transforms a simple scone into a memorable treat. Its warm, peppery flavor cuts through the richness of the dough and provides a subtle heat that lingers on the palate. A pinch of cinnamon adds a fragrant undertone that complements the ginger beautifully, while sea salt balances the sweetness and enhances every other flavor. If you’re a fan of citrus, a teaspoon of lemon zest will brighten the profile and add a fresh note that pairs perfectly with the ginger.
The Final Flourish
Dried cranberries or raisins add a burst of natural sweetness and a chewy contrast that keeps each bite interesting. They also provide a pop of color that makes the scones visually appealing. If you prefer a sweeter version, you can add a handful of chopped dark chocolate or a sprinkle of chopped nuts. For a savory twist, try adding chopped fresh herbs like thyme or rosemary—just be sure to keep the overall flavor balanced. Finally, a light dusting of powdered sugar or a drizzle of honey on top before serving adds an extra layer of indulgence.
Everything's prepped? Good. Let's get into the real action…
The Method — Step by Step
- Preheat your oven to 350°F (175°C) and line a baking sheet with parchment paper. The parchment prevents sticking and makes cleanup a breeze. As the oven warms, the air inside your kitchen will start to hum with anticipation, a subtle soundtrack to the culinary adventure ahead. This is the moment where you can’t help but imagine the golden crusts that will soon emerge.
- In a large mixing bowl, combine almond flour, coconut flour, baking powder, ground ginger, cinnamon, and sea salt. Sift the dry ingredients together to eliminate any lumps and ensure an even distribution of spices. This step is critical—if the spices aren’t evenly mixed, you’ll end up with pockets of intense flavor that can overwhelm the rest of the dough.
- Whisk the melted coconut oil, honey, and eggs together in a separate bowl until the mixture is smooth and slightly glossy. The oil’s viscosity helps bind the dough, while the honey’s natural sugars aid in browning. Pour this wet mixture into the dry ingredients, stirring gently with a wooden spoon until a shaggy dough forms. Don’t overmix; you want the dough to stay slightly sticky.
- Fold in the dried cranberries or raisins. The fruit should be evenly distributed throughout the dough, providing bursts of sweetness with each bite. If you’re adding chocolate or nuts, now’s the time to incorporate them, but keep the quantity moderate to avoid diluting the ginger’s punch.
- Using a tablespoon, scoop dough onto the prepared baking sheet, spacing each mound about 2 inches apart. The dough should be slightly flattened, but not so much that the scones lose their shape. This spacing allows the scones to expand evenly and develop a crisp exterior.
- Bake for 20–25 minutes, or until the tops are golden brown and a toothpick inserted into the center comes out clean. The aroma at this point will be intoxicating—ginger, honey, and toasted nuts mingle in a fragrant bouquet that will have everyone in the house sniffing. Keep an eye on the edges; they should pull away slightly from the parchment when they’re done.
- Remove the scones from the oven and let them cool on a wire rack for at least 10 minutes before serving. Cooling time allows the interior to set, preventing a gooey center that can be a texture disaster. While they’re cooling, you can drizzle a light glaze of honey or sprinkle powdered sugar for an extra touch of sweetness.
- Serve warm, ideally with a cup of herbal tea or a light coffee. The warmth of the scones contrasts beautifully with a cool beverage, creating a balanced sensory experience. If you’re hosting a brunch, arrange the scones on a platter and watch as they disappear in minutes—this is the moment you’ll proudly say, “I told you this was the best version you’d ever make at home.”
That's it — you did it. But hold on, I've got a few more tricks that'll take this to another level…
Insider Tricks for Flawless Results
The Temperature Rule Nobody Follows
Many bakers bake gluten‑free scones at a high temperature, but this can dry them out. I’ve found that baking at 350°F (175°C) for 20–25 minutes gives the perfect balance between a golden crust and a moist interior. If you’re using a convection oven, reduce the temperature by 25°F to avoid over‑browning. Keep a close eye on the first batch; once you see the edges start to pull away, you know they’re ready.
Why Your Nose Knows Best
When the first scone hits the oven, the aroma will tell you whether you’re on the right track. A sweet, caramelized scent indicates that the honey is doing its job, while a sharp, slightly bitter note can mean the ginger is too overpowering. Trust your nose—if it smells like a forest fire, it’s time to pull the tray out early and let the scones rest.
The 5-Minute Rest That Changes Everything
Letting the scones rest for 5 minutes on the baking sheet before transferring them to a wire rack allows the steam inside to settle. This short rest prevents the scones from collapsing or becoming soggy on the bottom. It also gives the crust a chance to set, making the final product look and feel more polished.
Don’t Skimp on the Oil
Some recipes call for a small amount of oil, but cutting it in half can lead to a dry crumb. Coconut oil not only adds moisture but also infuses a subtle coconut flavor that pairs well with ginger. If you’re avoiding dairy, coconut oil is a perfect, clean alternative that keeps the scones tender.
Keep the Dough Cool
Work in a cool kitchen and keep the dough in the refrigerator if you’re preparing it ahead of time. A warm dough will spread too much in the oven, resulting in thin, flat scones. By chilling the dough for 15–30 minutes before baking, you ensure a firm structure that holds its shape.
Watch the Fruit
Adding too many dried fruits can introduce excess moisture and cause the scones to become gummy. Use no more than half a cup per batch and consider chopping them into smaller pieces. If you’re adding chocolate chips, use dark chocolate with at least 70% cacao to keep the sugar content low.
Creative Twists and Variations
This recipe is a playground. Here are some of my favorite ways to switch things up:
Spicy Citrus Scones
Swap out half of the honey for orange juice and add a teaspoon of orange zest. The citrus brightens the ginger’s warmth, making the scones feel like a summer afternoon. Pair them with a sparkling lemonade for a refreshing brunch.
Chocolate‑Ginger Fusion
Fold in 1/4 cup of dark chocolate chips for a decadent twist. The chocolate’s bitterness balances the ginger’s heat, creating a complex flavor profile that’s perfect for coffee lovers. Serve with a shot of espresso for an indulgent treat.
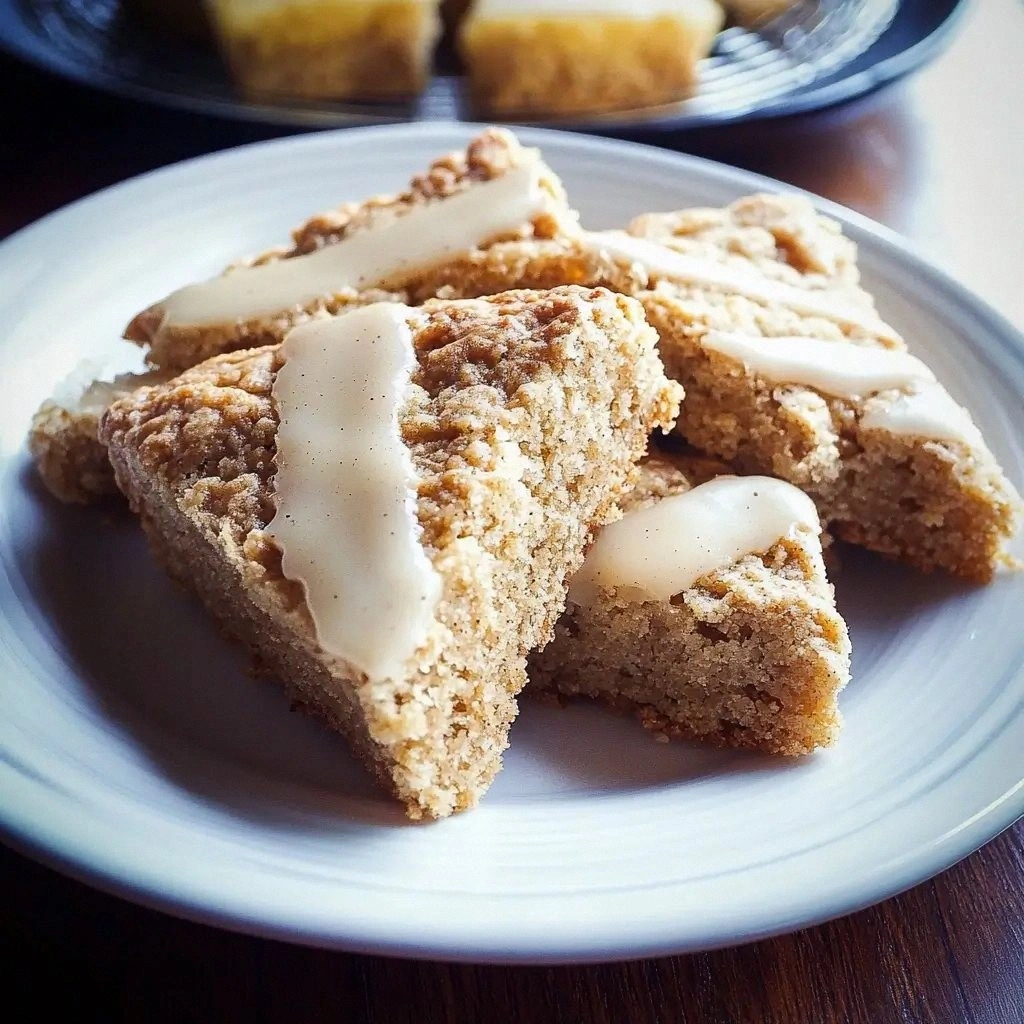
Almond‑Honey Swirl
Before baking, drizzle a thin line of honey over the top of each scone. The honey will caramelize into a glossy glaze, giving the scones a shiny finish and an extra burst of sweetness. Sprinkle chopped toasted almonds on top for added crunch.
Herbal Infusion
Replace the dried cranberries with dried rosemary or thyme. The herbal notes complement the ginger and create a savory-sweet contrast that’s surprisingly elegant. This variation works beautifully as an appetizer for a dinner party.
Berry Burst
Swap the raisins for fresh blueberries or raspberries. The berries burst with juice as you bite, adding a juicy contrast to the chewy texture. This version is especially delightful in late summer when berries are at their peak.
Nut-Free Option
Use sunflower seed flour instead of almond flour and omit the coconut oil entirely, replacing it with a tablespoon of melted butter (if dairy is acceptable). This keeps the recipe gluten‑free and paleo‑friendly while still delivering a tender crumb.
Storing and Bringing It Back to Life
Fridge Storage
Cool the scones completely before placing them in an airtight container. Store them in the refrigerator for up to 3 days. The moisture from the fridge keeps them fresh, but avoid sealing them in a plastic bag as this can cause condensation.
Freezer Friendly
Wrap each scone individually in parchment paper, then place them in a freezer bag. They’ll stay good for up to 3 months. When you’re ready to enjoy, thaw at room temperature for 30 minutes before warming.
Best Reheating Method
To revive a frozen scone, preheat your oven to 350°F (175°C). Place the scone on a baking sheet and bake for 8–10 minutes, or until warmed through. For a quicker option, microwave on low power for 15–20 seconds, then finish in the oven for a crisp crust. Add a tiny splash of water before reheating to steam back to perfection.